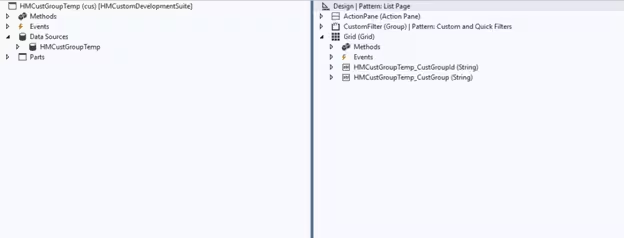
- Transient UI Data Display: Populating temporary tables (InMemory or TempDB) to display aggregated or transformed data on forms.
- Caller Context Transfer: Passing parameters and record context from caller forms using
Argsobjects. - Datasource Binding via setTmpData: Binding the populated memory buffer to the form grid datasource in the form
init()method. - Database Isolation: Ensuring temporary data remains local to user sessions without writing clutter to permanent physical tables.
- Interactive User Experience: Providing fast, sortable, and filterable dialog grids for interactive processing.

Overview: Temporary Form Datasources
In Dynamics 365 Finance & Operations, forms often need to present calculated, filtered, or aggregated records derived from multiple physical tables without persisting data permanently to SQL Server.
Using an InMemory or TempDB temporary table as a form datasource solves this cleanly, allowing full grid functionality (sorting, viewing, selecting) while isolating records strictly to the active user session.
“Temporary table datasources combine the speed of in-memory processing with the familiar look and feel of standard D365 grid forms.”
Step 1: Calling the Form from a Button Extension
We can trigger the temporary form dialog from an existing standard form (e.g. CustTable) using a button control extension that passes active context through Args:
[ExtensionOf(formControlStr(CustTable, HMCustGroup))]
internal final class HMCustGroupTemp_Extension
{
    public void clicked()
    {
        FormControl     formControl = any2Object(this) as FormControl;
        FormRun         formRun = formControl.formRun();
        FormDataSource  formDataSource = formRun.dataSource(formDataSourceStr(CustTable, CustTable));
        Args            args = new Args();
        CustTable       custTable;
        MenuFunction    menuFunction;

        next clicked();

        custTable = formDataSource.cursor();
        args.record(custTable);

        menuFunction = new MenuFunction(menuItemDisplayStr(HMCustGroup), MenuItemType::Display);
        menuFunction.run(args);
    }
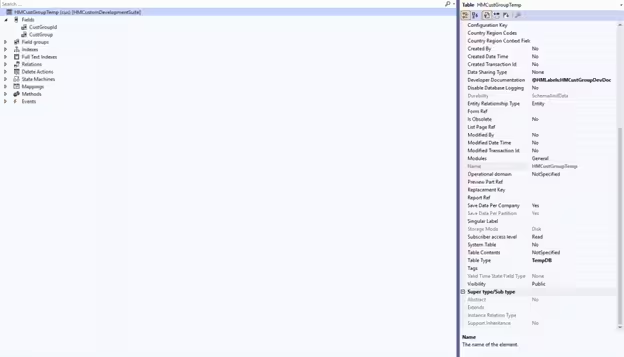
}
Step 2: Populating & Binding in Form init()
In the target form, override the form's init() method. Populate the temporary table buffer, and bind it to the form datasource using setTmpData():
public void init()
{
    HMCustGroupTemp tempTable;
    CustTable       custTable;
    CustGroup       custGroup;
    super();

    if(element.args().menuItemName() == menuItemDisplayStr(HMCustGroup))
    {
        custTable = element.args().record();
        custGroup = CustGroup::find(custTable.CustGroup);

        tempTable.CustGroupId = custGroup.CustGroup;
        tempTable.CustGroup = custGroup.Name;
        tempTable.insert();

        HMCustGroupTemp.linkPhysicalTableInstance(tempTable);
    }
}